This year I wanted to make more personalized cards for everyone and save a bit of cash in postage. The logical conclusion was designing my own postcards! At 33 cents each to mail out postcards are great for penny pinchers.
The first step was to design the postcard.
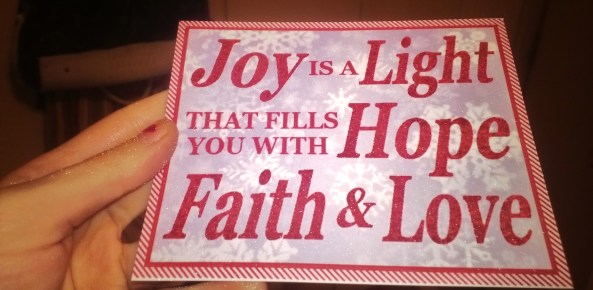
I wanted to incorporate a quote by American writer Adela Rogers St. Johns because it is Christmas-y and uses my last name – Joy.
Using Paint.NET I layered snowflakes with an antique paper texture. Used glitter text for the quote and tada finito!
It is important when designing to use the correct size in making the postcards. Regular sized postcards cannot exceed 6 by 4.25 inches or else you will have to pay greater postage.
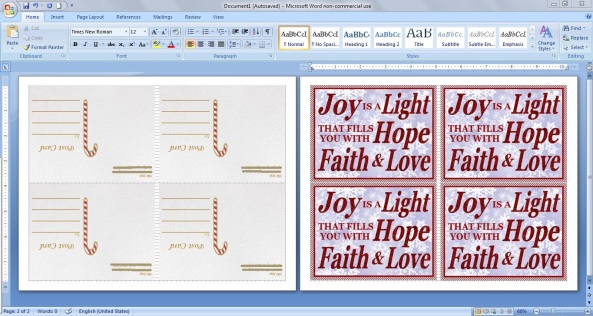
The reverse side included my return address and space to write out the recipient’s address. The Post Office asks that you include the words POST CARD just in case no one at the office can figure that out.
It is a good idea to use Microsoft Word or a similar processor that uses rulers so that you can center your cards. You need to center them or else the backside and frontside will not be aligned. Use heavy cardstock paper at least 110 lbs weight. To save on paper you can fit four cards per page. I suggest printing out a test paper just in case you positioned the cards outside of the printing space.
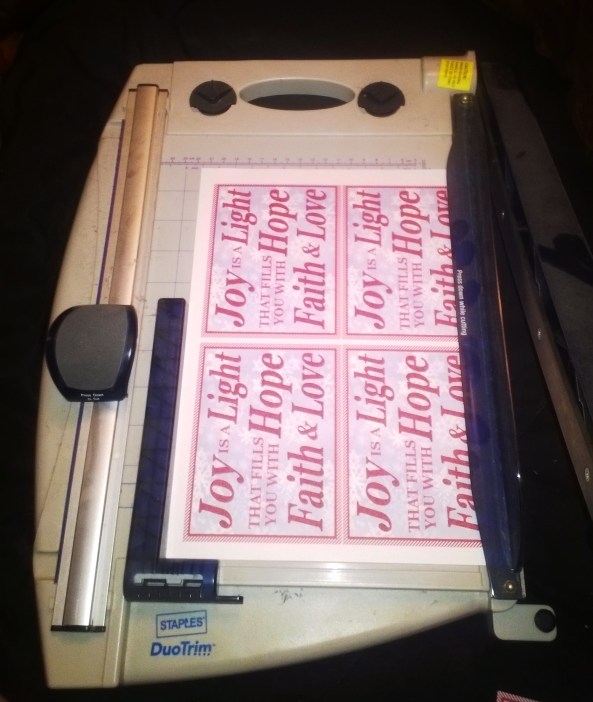
Next I cut them out using my handy dandy paper cutter. Using scissors of course is perfectly alright too.
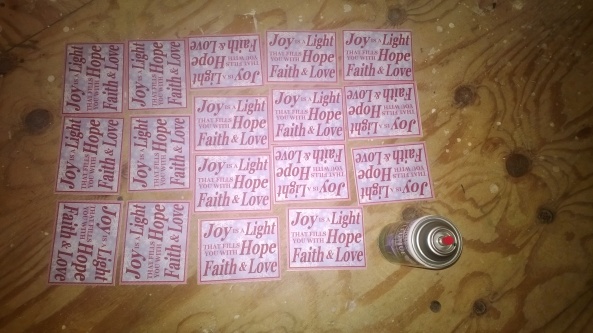
I wanted to add a little extra to the cards so after they were cut I sprayed them with glittery acrylic spray paint. As long as you spray them 8-12 inches away they won’t soak through. I think it turned out pretty well.
Fill the postcard with love and well wishes. Remember to put a stamp on it before you leave it in the mailbox.
And that’s it! You can use family photos, cartoons, anything in making these post cards. They are also perfect for Valentines Day, birthdays, Easter, etc.
